
For many homesteaders and farmers, chickens are more than backyard pets- they are meat and eggs to feed the family, or possibly a source of income. The reality of farming is that if a chicken isn’t producing or earning her keep, then she’s got to go.
They’re business, not something you name and let sit on your lap (oops!).
Or maybe you got stuck with a mean, nasty rooster. I’ve heard some horror stories! Being chased across your own yard by a flying ball of beak and spurs isn’t how anyone likes to spend their day…
One of the main goals of our homesteading venture is food production. And although I love animals, our main purpose behind having chickens and ducks is to raise them for eggs and meat. Somehow this is both the best and worst part of homesteading. I hate taking a life. It never gets easy… but as someone who has chosen to eat meat, I believe it is also my responsibility to be able to butcher and process that meat.
Knowing what went into raising a chicken, and honoring its life and sacrifice to nourish us, means we don’t waste a single morsel, including tough old bird meat (and the bones!). They don’t call them “stewing hens” for nothing. Because they take all day to cook and you can still end up with rubbery meat.
That is unless you pressure cook them! This is the magical answer for turning old hens into tender chicken dinner.
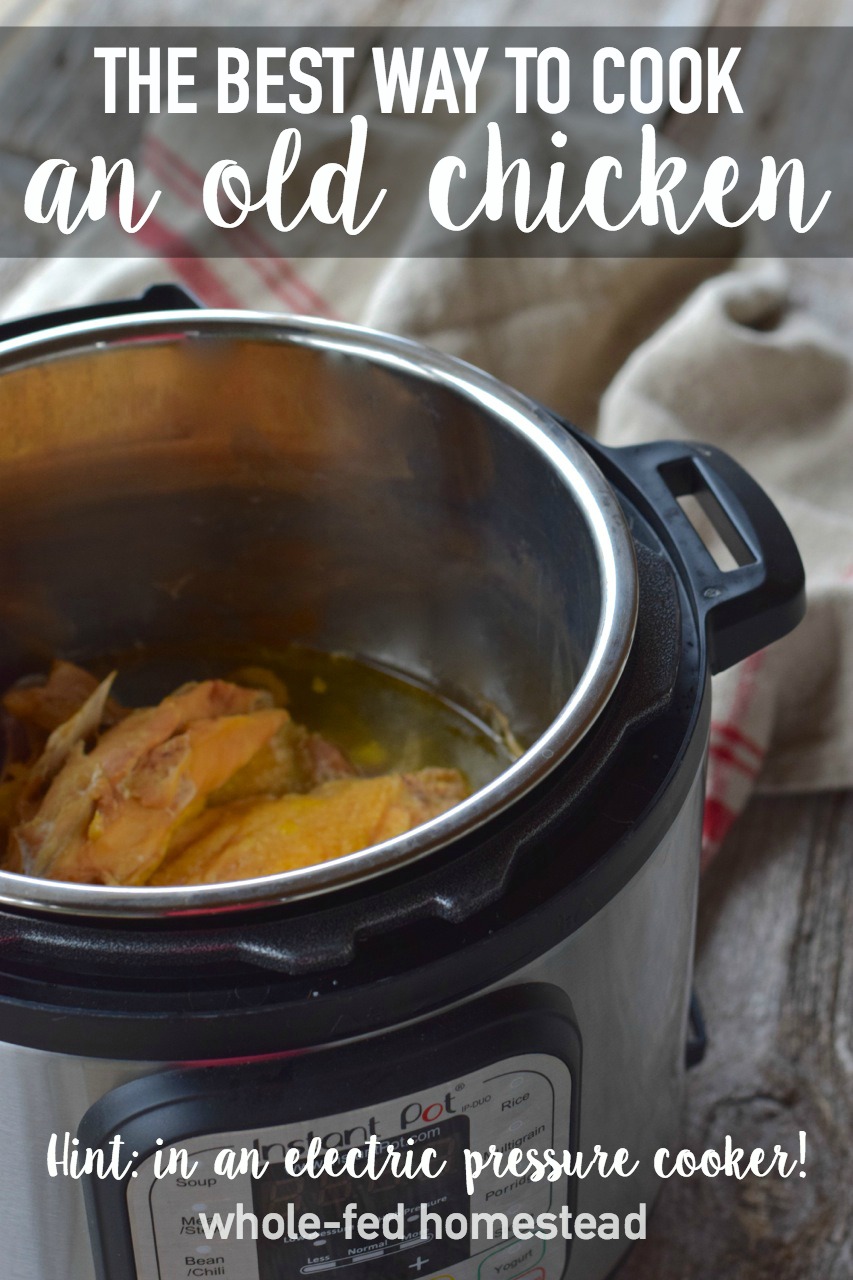
But I hate pressure cooking… honestly, it scares me and I’m not willing to walk more than a few steps away from the kitchen while I’ve got one on the stove, which ties me up for longer than I have to spare. Until I discovered the Instant Pot– an electric pressure cooker with a billion built-in safety features and a “set it and forget it” attitude. A pressure cooker that you can treat more like a slow cooker.
The perfect way to cook an old chicken, or ANY chicken for that matter!
If you raise your own meat birds, if you recycle your old laying hens every couple of years, or if you simply want a quick and easy way to cook chicken, even old birds- that makes them perfectly tender PLUS gives you incredible bone broth at the same time… then get yourself an Instant Pot.
And really, it’s so much more than a old-chicken cooker… It will turn the toughest (and therefore cheapest!) cuts of beef into fork-tender, juicy meat; it can cook a roast from frozen to fall-apart in a matter of a couple hours; and it is the ONLY way to make nourishing bone broth, as far as I am concerned. It makes applesauce in 10 minutes, cooks a baked potato in 15, and bakes a whole squash in 20 minutes.

How to Cook an Old Chicken in the Instant Pot
Overview: we want to cook the chicken until it is tender but not rubbery or mushy- this happens in a lot less time than it takes to make good broth. After we take the chicken off the bones, we return the bones and other bits to the pot with some aromatics for flavor and make the most incredible bone broth. Everything is cooked perfectly, and with very little effort.
Cut the chicken into quarters, or better yet break it down into the eight standard pieces: (2 of each) breasts, thighs, wings, drumsticks. (We cut up old hens before freezing them, so they are ready to go right out of the package after thawed). This doesn’t have to be perfect, or even pretty.
Season the chicken with salt, pepper and whatever other herbs or spices you’d like. Arrange the chicken in the bottom of the metal pot and then pour in 2 cups of water. DO NOT FORGET THE WATER. Make sure your contents doesn’t exceed the max fill line- which you shouldn’t even be close to with one chicken…

Follow the instructions for securing the lid and making sure the venting system is correct. I always use the manual mode (on high pressure) when using the Instant Pot… probably because I’m bossy and I like control, ha! Ahem, anyways… for an older, tough chicken, I find that 30 minutes seems to be the perfect amount of time for tenderizing the meat, but not turning it into mush. Set the Instant Pot for 30 minutes under high pressure and go about your business.
The chicken should be tender enough to eat, but it isn’t going to be the same as a young chicken, even after being pressure cooked. You might even call it slightly rubbery, but that doesn’t mean it isn’t good for eating! I find the best use for “old chicken” is anywhere you’re going to chop it finely… so, things like soup, enchiladas or other mexican-inspired casserole type dishes- something with other texture elements.
Once the pot has finished cooking and depressurized, use a tongs to remove the chicken pieces into a glass or metal bowl (leave whatever liquid is left in the pot). When the chicken has cooled slightly, pick all the meat off the bones and return just the bones and skin to the pot. I find that the cartilage at the ends of the bones tends to come off with the meat and sort-of hide in it- make sure these parts get back into the pot too! Pick through the meat- any tendons, skin, or other piece you wouldn’t want to eat should go back into the pot!
To the pot add:
1 teaspoons apple cider vinegar (optional)
1 yellow onion, root end cut off, onion cut in half
2 cloves garlic
2 celery stalks, cut into pieces
1 large carrot, cut into pieces
4 chicken feet
up to 8 cups of water (just cover the ingredients with water)
Yes, chicken feet. I won’t make broth without them! If you don’t have homegrown, you can find them at your natural grocery store for cheap- and they make all the difference in broth. Your broth likely won’t “gel” without them. I keep a bag of feet in the freezer and throw them right into the pot frozen in this case.
Place all the chicken parts and veggies into the pot and add water until these ingredients are just covered, being mindful not to fill above the max fill line.
Place the cover back on the Instant Pot and use the manual mode again, setting it for 90 minutes. To get the most out of my chicken bones, I find that going through two 90-minute cycles gives the richest broth with the most healing (and flavorful properties). So as soon as the first 90 minutes is up and the pot beeps at you that it is done, press cancel and then set for 90 minutes again (no need to wait for it to depressurize between sessions). If your Instant Pot timer goes higher, you can just set it for one cycle of 180 minutes.
(If you’re in a hurry, one 90 or 120-minute session is perfectly fine.)
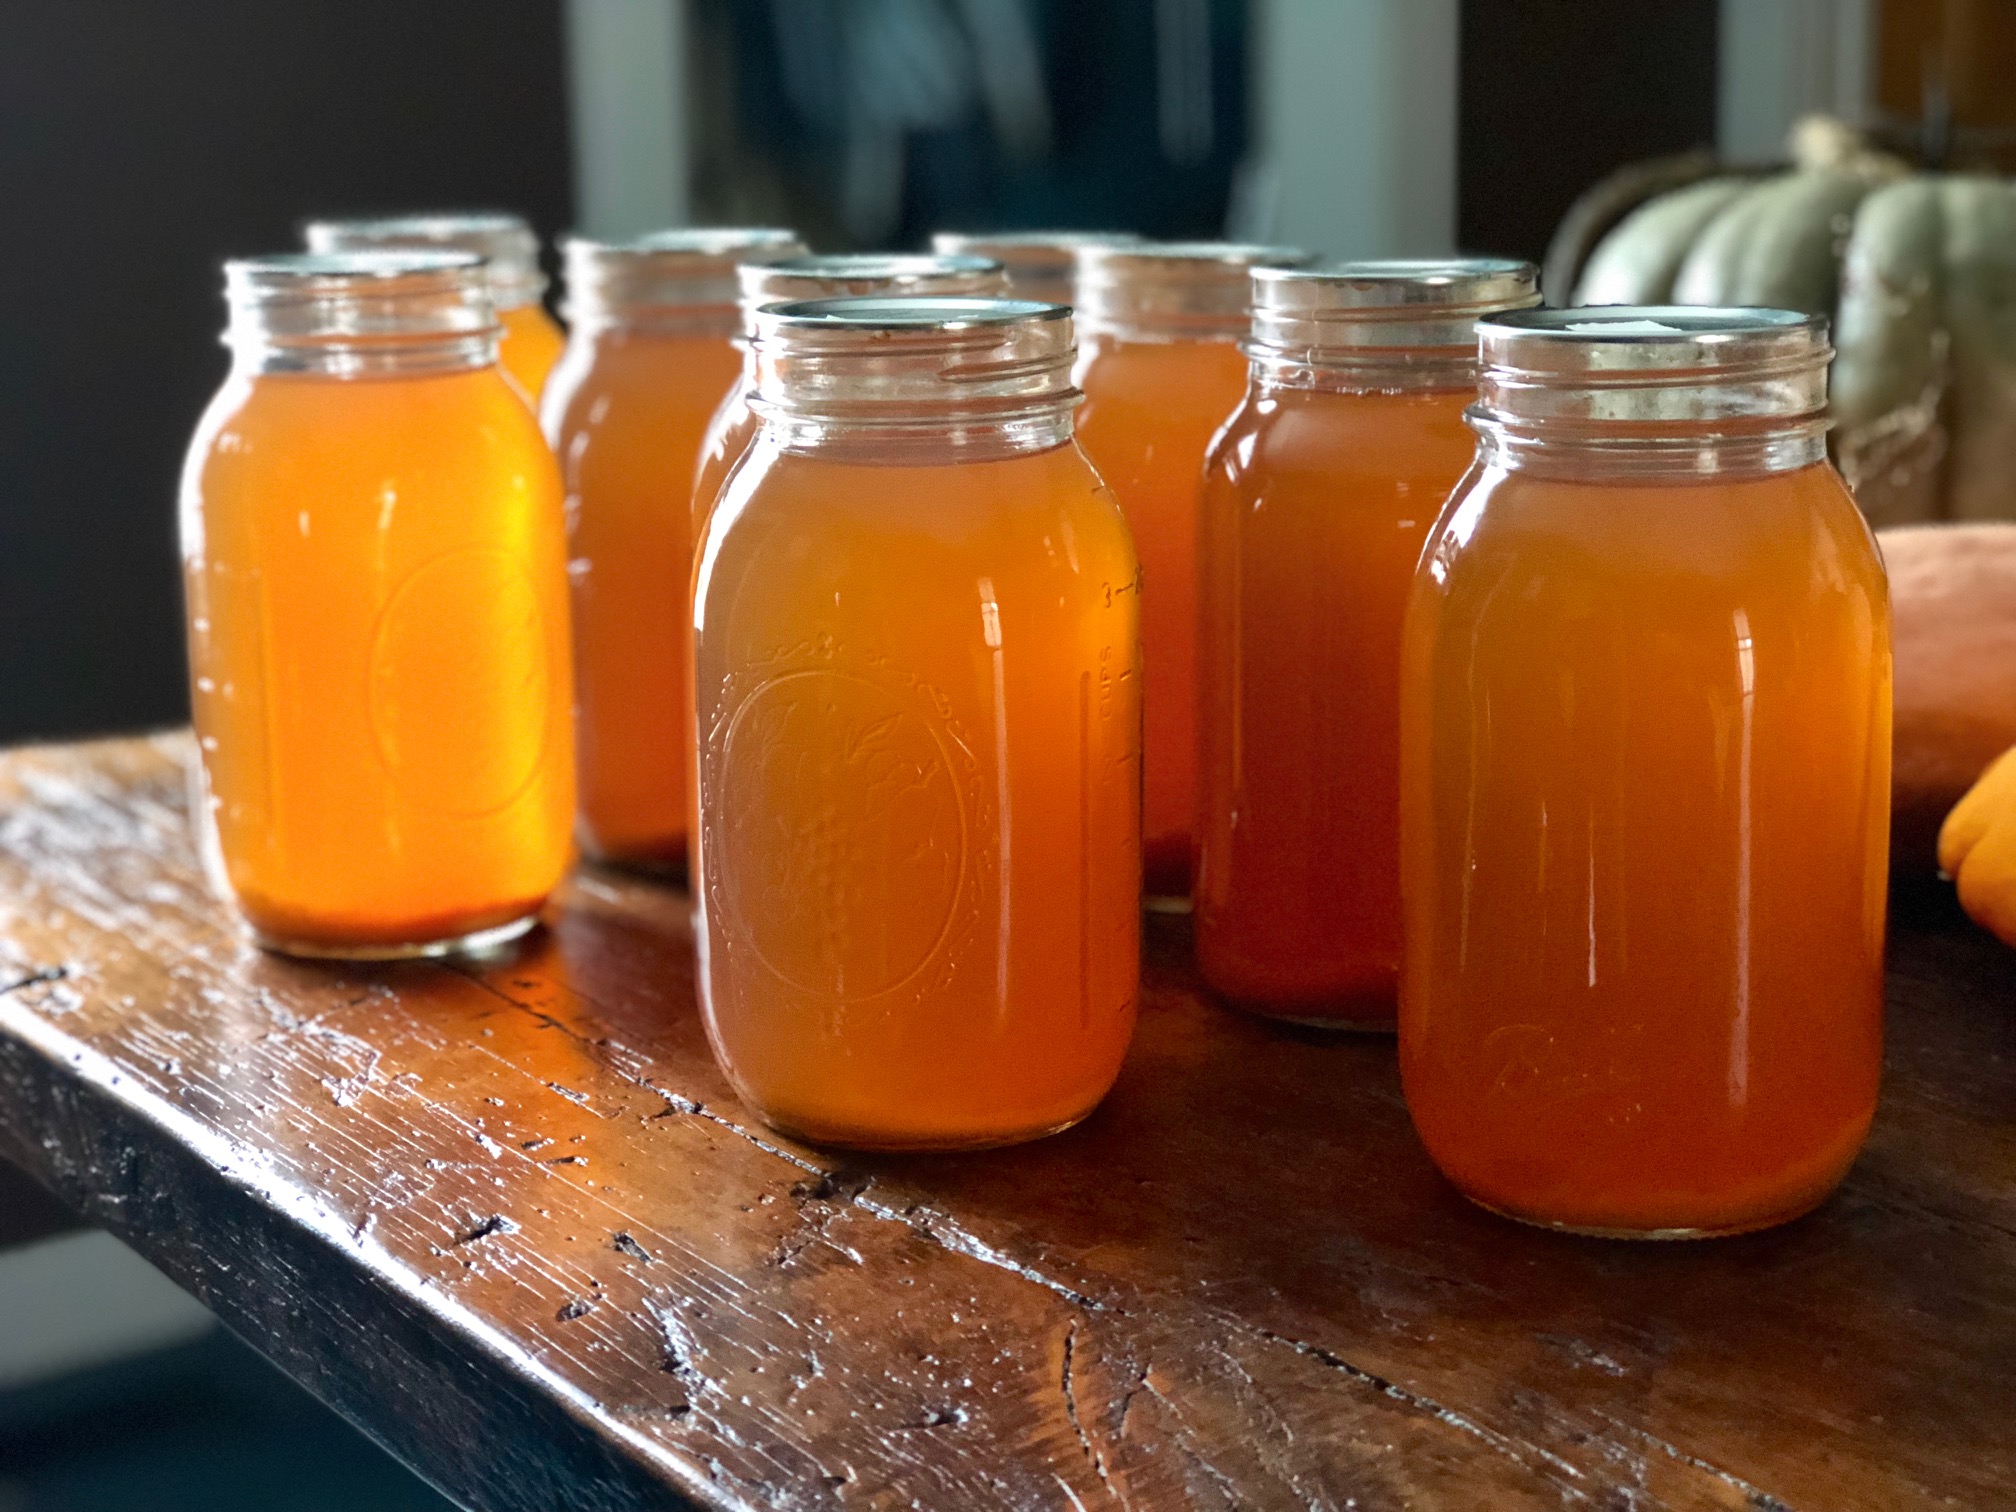
When cooking is done and the pot has depressurized, unplug the pot and allow the broth to cool slightly. Strain the broth through a fine-mesh sieve into a glass or metal bowl.
You’ll never waste an old chicken or mean rooster again!
Want more from the homestead?


This post may contain affiliate links, which means that if you click through them and end up purchasing an item (any item, not necessarily the one I recommended even!) I may receive monetary or other compensation. The price you pay is unaffected by using this link, and buying stuff you were going to get anyways through an affiliate link is a great way to support your favorite blogger and fellow homesteader! Thanks!


I tried this with my CSA chicken, and can’t say the results are better than with my old slow cooker. Certainly no disintegrating bones.
Disintegrating bones happens after you return the bones to the pot and go through two 90 minute cooking cycles for broth. Not just after cooking the meat.
I tried this with and indeterminately old layer and after 30 min she was still pretty tough. I put her back in for another 15 and then she was rather stringy. Even the dark meat was difficult to separate from the bone. Any other thoughts as to what I can try? I have 2 more birds already butchered and prob another 6 to do. I need to find a way to make these girls palatable!!!
Hi Jason- was it a huge chicken? Maybe it needed even a little more time. Maybe try pressure cooking one for 60 minutes and see what happens. I’ve never had a problem with it not falling right off the bone. You did remember to add the water, right?
One thing I didn’t make clear in the post, which I will edit for, is that we don’t eat this chicken like a roasted chicken. It really is best in a preparation like soup, or casserole, chicken salad, bbq chopped chicken, etc… in something that you chop it up in small pieces for. Hope that helps!
I’ve tried this with a 3 year old hen…yes, we seem to get attached to our orpingtons! Anyway, the first 30 minutes and while it was cooked, it wasn’t easy to get off the bone. I’ve got a freezer full of these, so will try cooking longer. Maybe
on “med” pressure for an hour.
Hi Debbie- I guess every chicken is a little different! I would maybe try 40-45 minutes under high pressure next time. The goal is to get it just tender and not go too far over into mush-territory. -Crystal
Thanks for your recipe! I got a beautiful old bird from a local farm in upstate NY, Heather Ridge. My intuition told me the Instant Pot would be the way to go, so I started googling, and found my way to your site.
Other sites I saw mentioned letting the bird “rest” in the fridge for a few days to let her tendons relax”–so I did that. Then I brined her for about 24 hours.
From there I followed your recipe, and my meat was falling off the bone. I mixed the meat with some Pulled Chicken sauce I made, inspired by Paleo Mama and Nom Nom Paleo–the Internet has it’s bright side!
It was delish, and now my bone broth is cooking away…his Hen has been properly honored!
Love hearing this! Nothing goes to waste! :) -Crystal
My stewing hen is thawing and I would rather not have to chop her up. How will she do in one piece for the first phase, as a whole chicken?
As long as it fits and sits below the max fill line, that is just fine. I might add a few more minutes to the cook time though. -Crystal
Thx! Going in now.
I had a small hen and it came out perfectly per your directions. The broth is cooling and looks great. Thanks for helpful information and recipe!
Great- so glad to hear that, thanks for letting me know! -Crystal
Testing this recipe now! Excited to see how it works out. Clearly it requires tweaking to the specific chicken, but it’s great to have a detailed starting place! One question—Why do you recommend two 90 minute cycles for stock instead of a single 180?
Hope it turns out good for you! Yes, you’re absolutely right that every chicken will be a little different.
My Instant Pot only goes up to 90 minutes, but I do think newer models or other brands can go higher- so by all means, if yours will do 180, no need to break up the cycles. -Crystal
I tried it with a frozen mature chicken that I cooked for an hour then broiled it for 5 min to make the skin crispy and then cut it up, removed the bones and added the meat to a prepared chicken cacciatore sauce. It was delicious!!
I collected all the bones and pressure cooked the bone plus my Suppengrün for 180 minutes in my stovetop Fagor Duo and made a wonderful broth as well. I couldn’t find any chicken feet the last time I was in the Asian grocery store but I’ll get some and freeze it for the next mature chicken.
The next time I find a mature chicken I will make a “pressure cooker “Coq au vin” that is actually edible! I tried it once in my cast iron pot but it was still tough and inedible after following the recipe.
I tried this with a year old large rooster, it didn’t fall off the bone but I could pull it off with ease. The texture and taste was awesome. Very surprised how tender he is and fresh taste. I think the brine and 3 day rest makes the difference. The broth is in it’s second 90 minutes and we will see how that goes. Not understanding why 2 sets of 90 instead of a steady 180 minutes. Thank you for the tips.
Good question- I have an older model Instant Pot that only goes up to 90 minutes. A steady 180 minutes would be just fine. -Crystal
After making bone broth i mash the bones and bits too. As long as you don’t use onion it is good to add to the dog’s bowl. Protein and calcium. She loves it and it makes her fur super shiny.
Just cooked an old hen in my instant pot. I have only every made quinoa in this pot so it has been adventuresome. My hen was frozen so I thawed and cut up as much as I could. Cooked it on high pressure for 30 min. It was still rather tough to get the meat off. Put the bones, skin et all back in. Could not fit another full 8 cups of water to follow the level. You refer to using manual instead of? I put mine on pressure cook high. Is this different? I would think manual would mean slow cook????….Please explain. feeling rather nervous.
Hi Mary Lou,
I have a pretty old Instant Pot model, so you may have some different buttons than I have. Any you may have a different size pot than I have also. Manual mode just means that you can control the exact time you’d like to set it for… and yes, manual mode is high pressure. Hope that helps!
You are a woman after my heart. I used to keep chickens before the predator problems became too severe. I take great pride in having done my own butchering. Indeed, those feet are great in soup! Wish I could buy them here but not. As for broth, bone broth is a staple in my kitchen. I use mainly turkey necks. The broth always jells.
This last year was our first time having our roosters butchered from raising chicks for layers. We waited until they seemed a good size and brought them to the processor. What we got back was laughable! These were the teensiest little roasts I’d ever seen! And rubbery! We have learned that they need to eat differently than the laying hens since then…but still had quite a few of these in the freezer!
I’m so glad to have come across your recipe! I popped two into my IP and 35 mins later the meat was falling off the bone! I’m about to put the bones in for another 180, and am confident I’ll be pleased with the outcome!
Thank you!
Thank you so much for the information it worked great and a much easier way for my bone broth!