
Yep, I’ve been slathering lard on my lips. And honey, naturally. Join me, won’t you?
My lips need extra TLC all year round: in the below-freezing winter weather the dry air really takes a toll on them, and in the warm summer months I spend a lot of time outside in the wind and parching-sun, and this Honey & Lard Lip Repair Cream has been a life-saver!
I make a lot of different lip creams, and it seems like I am always experimenting with new combinations of ingredients every time I make it, but this simple version with just three ingredients is an old standby. Of all the fats for making lip balms and lip creams, lard is my favorite. I think it is even significantly better than coconut oil.
If you’ve ever tried to make homemade lip balm and put honey in it- you’ve learned that it doesn’t work. The honey almost immediately separates out from the fats… unless you use my technique. I’ve figured out a way to easily incorporate larger amounts of honey into a lip balm! Honey is a skin-soothing, hydrating, miracle-working ingredient for your skin, and I love using it in lip balms.
The way I use this lip cream is to put it on before bedtime. When I wake up the morning my lips are soft, and I typically don’t have to use ANY other lip creams or lip balms all day long. This is why I formally call it a “repair cream,” even though I use the term “balm” interchangeably. I feel like this stuff heals me!
Feel free to double or triple this recipe.
It makes great gifts too!
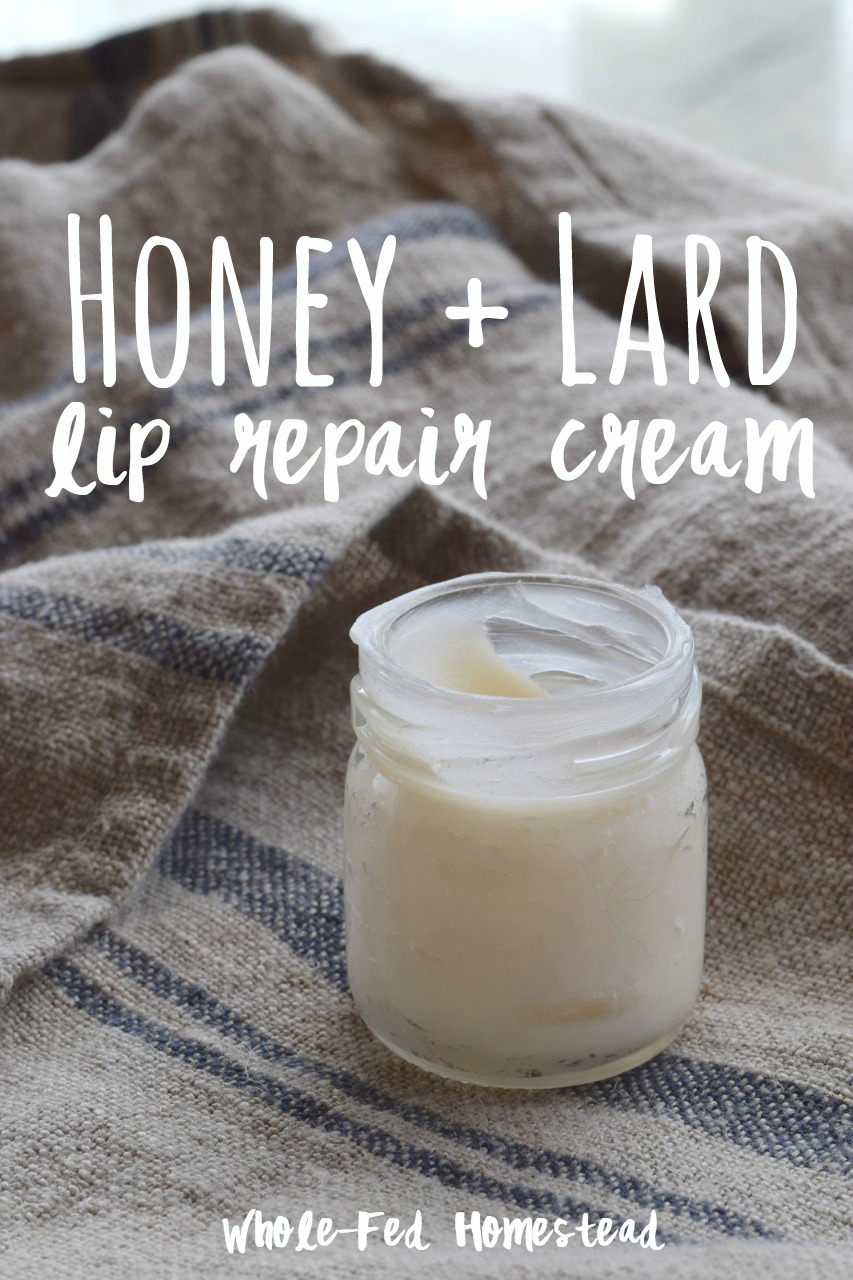
Honey & Lard Lip Repair Cream
Ingredients
1 tsp beeswax pieces or beeswax pastilles
4 tsp rendered lard (pure, white) leaf lard preferable
1 tsp raw honey
Equipment
small glass jar like a jelly jar or pyrex measuring cup
small to medium-sized pot
kitchen fork
container to hold the finished product
This recipe fills a container of approximately 1.5 ounces
Instructions
WAIT! Don’t just melt everything together! Honey is notoriously hard to incorporate into body products, because it will separate out from the oils once the product solidifies. We’re using a technique designed to get around this problem, and in the end we will have a great, nourishing lip product full of honey that won’t separate out!
If your beeswax is in a block, use a knife or veggie peeler to shave it into small pieces.
In your glass jar or cup, add:
- 1 tsp beeswax pieces or pastilles
- 4 tsp rendered lard
Place the glass jar into a pot of water, so that the water comes about half-way up the glass jar. Place the pot on the stove over medium to low heat. Do not allow the water to boil; a gentle simmer is okay.

Use a fork to gently stir the ingredients occasionally as the mixture heats up and the beeswax and lard melts. It should take about 5-8 minutes for everything to melt and combine.
After all of the beeswax pieces are melted, remove the glass jar from the pan (use a towel or oven mitts!). Set the jar on a heat-safe surface and allow it to completely cool and solidify- this should take about 30 minutes.
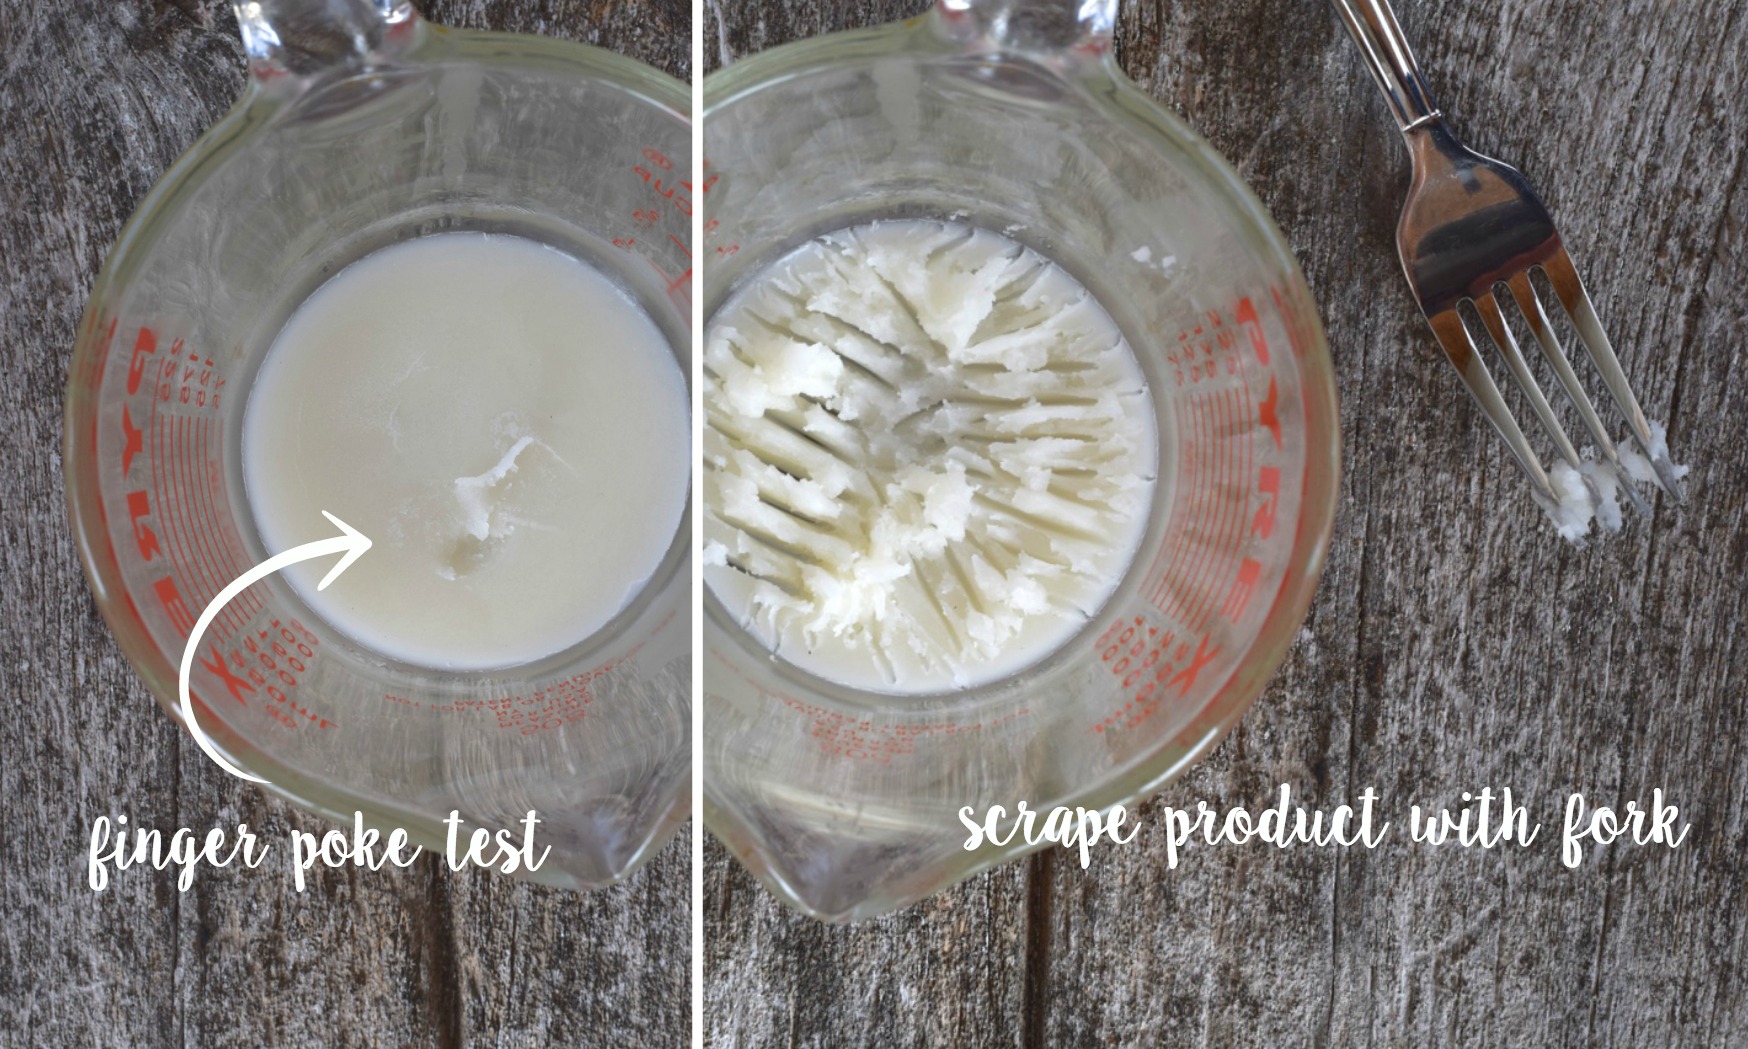
To make sure the mixture has the correct consistency, poke it with your finger- it should easily indent and the product should be soft. If by chance it isn’t soft enough to indent with your finger (this shouldn’t happen unless you didn’t measure precisely) return the jar to the pot of water on the stove and re-melt, adding an additional 1/2 to 1 teaspoon of lard. Allow the mixture to cool again and re-test by poking it again.
Use a fork to scrape the product and start to loosen it up; it should be a little stiffer than a vaseline consistency.
After you’ve broken up the solidified product, use the fork to whip it around in the jar or cup until it is a uniform creamy consistency (about 30 seconds).
Add in:
- 1 tsp raw honey
Again use the fork to whip in the honey and keep stirring for about a minute, until everything is well-combined.
Find a cute little jar (I love these little tiny jelly jars!!) to store your brand new Honey & Lard Lip Repair Cream!
Slather it on your lips and be prepared for friends and family to ask if they can have some!
Want more from the homestead?


This post may contain affiliate links, which means that if you click through them and end up purchasing an item (any item, not necessarily the one I recommended even!) I may receive monetary or other compensation. The price you pay is unaffected by using this link, and buying stuff you were going to get anyways through an affiliate link is a great way to support your favorite blogger and fellow homesteader! Thanks!


Cool! Thanks for sharing. I’ve made sugar scrubs before but haven’t been brave enough to make a product like this!
Have you ever tried using this on the rest of your body? My son has terrible eczema on his hands and I’m thinking this might be helpful to him. I’d have to make in in a pint jar, though.
Hi Jennifer! Yes I have… because of the honey it is a little sticky, which is why I like for the lips but isn’t my favorite for the rest of the body. I bet it would be great for eczema though, if you don’t mind a little stickiness! I’d slather it on his hands at night and send him to bed with socks on his hands. Just use warm water to wash the honey/sticky off in the morning. :)
(And let me know how it works if you try it!) -Crystal
Hello! I realize this is an older blog post but I wanted to comment because I made this lip recovery cream last night after it came up on a Google search. This cream is the first and only thing that has helped my chapped winter lips in such a short amount of time and I’m so happy to have discovered something that (a) works and (b) I can make with things from my pantry. I’ve tried everything for the chapping and dryness, from store bought balms to other homemade recipes, so this is a wonderful find – thank you for sharing your recipe. I did add a bit more honey to the mixture today – I like the shine it gives . . . plus it smells delicious!